Butt Pucker Customs / Performance upgrades
Stage 1 Motorcycle Upgrades: Exhaust, Air Intake & Tuning
By Butt Pucker Customs · · 15 min read
Research, with manufacturer sources linked below. How the guides are written →
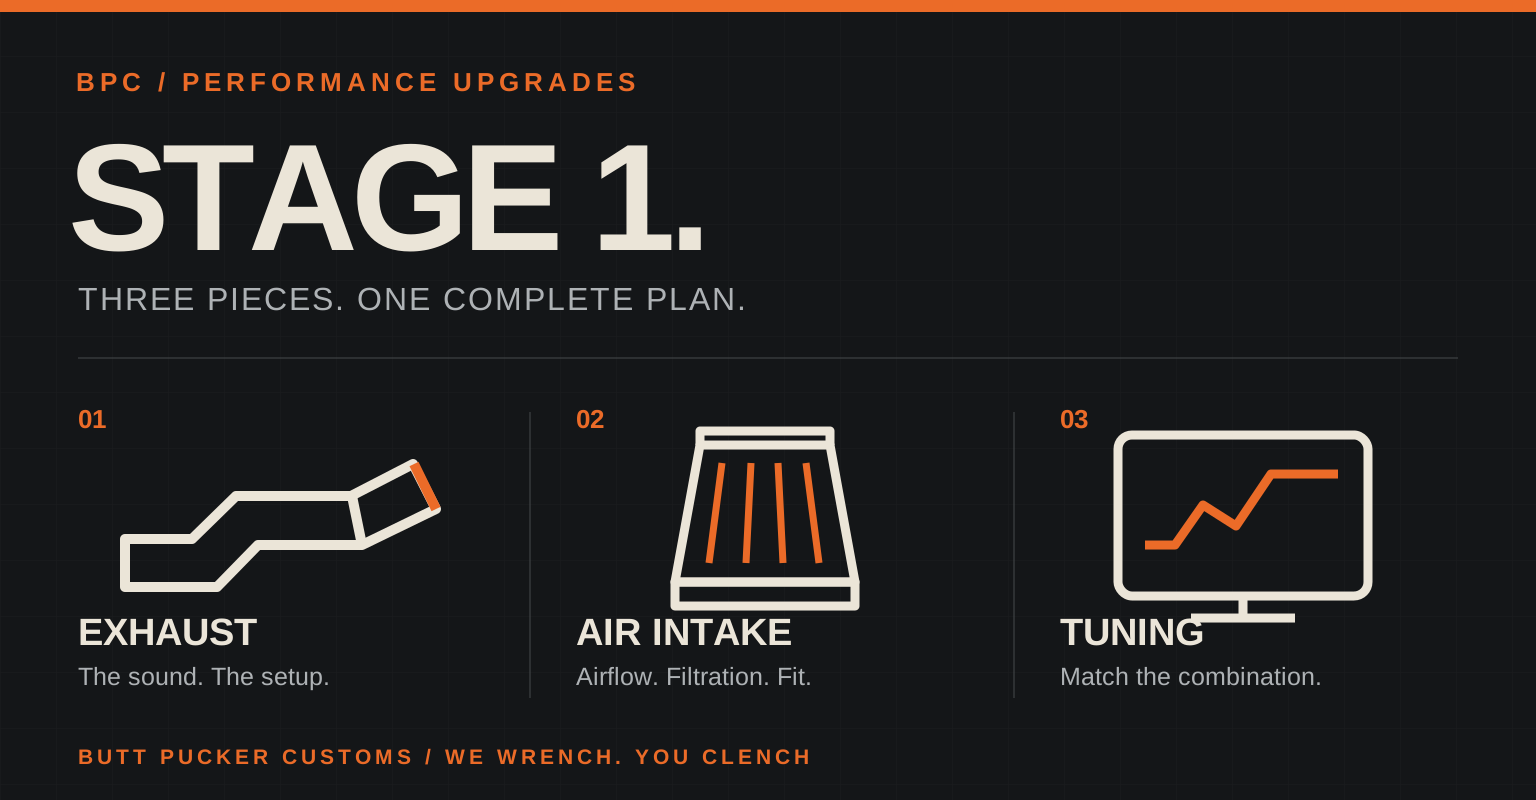
The pipes get the attention. The intake gets the compliments. The tune makes the combination make sense. If you’re planning your first performance upgrades, Stage 1 is where those three decisions need to meet.
THE SHORT VERSION
Stage 1 usually means a compatible intake, exhaust and engine calibration, without internal engine work. Plan the whole combination before buying the first part. Sound, fitment, filtration and everyday response deserve as much attention as the peak number.
What is a Stage 1 upgrade?
In Harley-Davidson’s performance terminology, Stage I combines intake, exhaust and tuning. It’s a first step that changes the engine’s breathing and calibration rather than rebuilding its internals. Harley-Davidson specifically includes ECM recalibration in that package. [1]
That’s the meaning used in this guide. Stage numbers aren’t universal specifications: a supplier’s Stage 1 package for a dirt bike, snowmobile or personal watercraft can contain different parts. Check the actual component list instead of assuming the label means the same thing everywhere.
How the three pieces work together
Intake lets it breathe. Exhaust lets it exhale. The tune has to suit the combination you actually fit. More noise alone does not tell you it is running better. [11, 12]
For a four-stroke motorcycle, think of the three pieces as a coordinated package:
| Component | Its place in the plan | Question to answer first |
|---|---|---|
| Exhaust | The outlet side: its hardware and sound must suit the motorcycle and intended use. | Is this a muffler change or a complete system? |
| Air intake | The inlet side: airflow needs to come with effective filtration and correct fitment. | What does this exact kit require for installation and calibration? |
| Tuning | The calibration that matches the engine management to the approved hardware combination. | Who supports the exact motorcycle, intake and exhaust together? |
1. Exhaust: choose the system, not just the soundtrack
Start by separating a slip-on, which replaces the muffler portion, from a full system, which also replaces the headers. The distinction matters because the amount of hardware retained—including the catalyst and sensors—varies by motorcycle.
A muffler-only change does not automatically have the same tuning requirement as a complete exhaust. Vance & Hines identifies certain Touring Harley-Davidson muffler swaps as not requiring a tune, while its full-system changes do; other applications need model-specific advice. Don’t turn one platform’s exception into a rule for every motorcycle. [2]
Do not buy a pipe for a bike you do not own. Check year, engine, and sensors first, then price the whole job.
Two-into-one or two-into-two?
These describe the exhaust layout. Neither label, by itself, tells you which system is the better purchase for your motorcycle. Compare the actual systems you’re considering: their application, intended operating range, sound, clearance, calibration support and any relevant test results. Ask what the test motorcycle had installed, rather than comparing two headline numbers from different builds.
Also decide what sound you can live with. Something that sounds exciting for thirty seconds beside a garage may be a very different proposition over a long ride. Hear the setup in person when possible, with the same baffles and engine configuration you intend to use.
Removing the baffles is not a performance strategy
Vance & Hines warns that removing its baffles can cause performance loss and tuning problems. Follow the specific system’s instructions rather than treating an empty pipe as a free upgrade. [2] Our buying rule: choose the exhaust you want to run in its supported configuration, then plan the calibration around it.
2. Air intake: airflow still needs a filter
An intake kit can include the filter, backing plate and mounting hardware. Compare the complete contents, filtration and service routine. The Harley-Davidson Sportster example specifically calls for recalibration. [3]
Put these questions on your intake shortlist:
- Does it fit comfortably? Check the shape and position against your riding position and the manufacturer’s fitment information.
- Does the supplied hardware complete the installation? Establish whether seals, adapters or other parts are required separately.
- What is the maintenance routine? Understand the filter type before committing to it.
- Is it suitable for how and where you ride? Discuss wet-weather and dusty-use requirements with the manufacturer.
- Is the exact intake supported by the calibration you plan to use? Confirm this before installation day.
Service instructions are filter-specific. K&N publishes different procedures for oiled cotton and Dryflow media. Don’t oil an element simply because another washable filter required it, and don’t improvise a cleaning procedure. Use the instructions for the element actually installed. [4]
3. Tuning: the part of Stage 1 you can’t judge by looking at it
On an EFI motorcycle, the calibration supplies the engine-management instructions and data used to control operation. With a changed intake and exhaust, the relevant calibration needs to match the resulting combination. Buying a tuning device and choosing a supported calibration are two separate decisions.
Why “EFI adjusts itself” is an incomplete answer
Many EFI systems use oxygen-sensor feedback in closed-loop operation to correct fueling under particular conditions. That does not mean the system can automatically accommodate every hardware change, everywhere in its operating range.
Dynojet explains that traditional narrowband-sensor Harley systems have measurement limits and operate in both closed-loop and open-loop regions. Sensor feedback is useful, but it is not a substitute for an appropriate calibration. [5] Avoid the opposite blanket claim, too: not every muffler swap automatically requires a new tune. The application and manufacturer’s instructions decide.
Base map, AutoTune or a custom tune?
| Approach | What to understand |
|---|---|
| Supported base calibration | A supplied map should be approved for your motorcycle and hardware. Confirm the match with the provider; “close enough” is not a fitment specification. |
| AutoTune or logging-assisted refinement | The process uses sensor data to help refine fueling. Hardware, sensor coverage and whether changes are applied live or after a session depend on the system. |
| Custom dyno calibration | Ask the tuner what measurements, operating conditions and final checks are included for your particular motorcycle—not just whether a peak-power graph is supplied. |
Dynojet’s Power Vision 4 guide stresses starting AutoTune with a suitable base calibration. It describes logging-based corrections that are reviewed and applied after a session. Its separate Power Commander documentation describes an AutoTune configuration capable of real-time fuel adjustment. The name “AutoTune” therefore does not establish one universal workflow. [6] [7]
Ask who supports the map, which sensors the device uses, what licensing costs, and what happens when you change parts. FP4 exclusions are in the manufacturer's application list. [8]
For a carbureted motorcycle, the fueling work is different: adjustments may involve the appropriate jetting rather than an ECM flash. Dynojet’s motorcycle jet-kit range distinguishes packages by the intake and exhaust configuration. Follow the kit and motorcycle instructions rather than copying someone else’s jet sizes. [9]
Specific products to put on the shortlist
For an intake example, the Vance & Hines VO2 Cage Fighter 40365 ↗ is the stainless-black version listed by the manufacturer for the 2008–2016 Touring and 2016–2017 Softail applications shown in its fitment information. Confirm your exact motorcycle before ordering. It is a more useful starting point than searching for any Harley air cleaner.
For calibration, compare the Vance & Hines FP4 ↗ against your motorcycle and the provider’s supported Stage 1 maps. Device variants and model exclusions matter. For exhaust, use the Big Radius 2-into-2 Softail system ↗ as a specific style to compare with your installer, then confirm the exact part number and calibration. These are individual examples to research, not a guaranteed compatible three-piece package.
The shared garage tools list covers the maintainer, torque wrench, inspection light and job-specific tools. Start with what you already own and what your installer supplies.
What should you expect from Stage 1?
Start with a goal you can describe without quoting a horsepower figure. Perhaps you want a different exhaust note, more satisfying response in everyday riding, or a supported foundation for later work. Then ask the supplier or tuner what evidence supports that goal on your specific combination.
There is no BPC promise of a fixed percentage gain, a particular torque increase or an automatic fuel-economy improvement. Results need context: the starting configuration, the final parts, the calibration and how the result was measured. A sound change is something you can hear. A power increase needs evidence.
If you pay for before-and-after testing, ask for comparable conditions and the complete curves. Specify the questions you want answered: what changed through the range you use, how the motorcycle responds, and whether any issues remain. Don’t let a single large number replace that conversation.
TAKE THIS TO THE INSTALLER
A Stage 1 buying sheet that prevents repeat purchases
Before ordering, complete one row for each piece of the proposed setup. An unanswered cell is a question for the supplier or tuner, rather than a detail to guess after the box arrives.
| Decision | Record before ordering | Why it matters |
|---|---|---|
| Starting configuration | Model year, engine, current parts and known calibration | Defines the application and map advice. |
| Intake | Exact kit, filter medium and hardware | Prevents buying care products for the wrong filter. |
| Exhaust | System, sensor provisions and instructions | Separates appearance from confirmed fit. |
| Calibration | Supported combination, device/license and verification provider | Makes tuning part of the budget. |
| Installation | Labor, gaskets, adapters, tools and follow-up | Shows the cost of a completed setup. |
Choose the tool by the job
A torque wrench needs to cover the specified fastener torque. A filter-care kit needs to suit the filter medium. A sensor socket needs to fit the actual sensor and access. A storage maintainer does not automatically meet an ECU-flashing power requirement. Confirm the device provider’s instructions.
Use the shared garage tools list after the installer confirms what the job needs.
Decide what “finished” means
Keep the installed part numbers, final calibration identifier and verification notes. If the setup changes later, the next person has a reliable starting point. Sound, appearance and measured performance are different outcomes; decide which ones your project is meant to deliver.
The sensible order: plan, confirm, install, verify
- Write down the starting point. Record the exact motorcycle, engine, existing intake and exhaust, and any known calibration. Have existing running issues diagnosed before treating upgrades as a cure.
- Describe the goal. Decide what matters most: sound, appearance, everyday response or future compatibility. Set a whole-project spending limit.
- Choose the combination with its support provider. Confirm the intake, exhaust and calibration together before ordering.
- Price the complete job. Include installation hardware, seals, labor, tuning or licensing, any additional sensors, shipping and follow-up checks.
- Install to the actual instructions. Use the motorcycle’s service information and each component’s instructions for fasteners, torque, routing and checks. This guide is not a substitute for them.
- Verify the result. Agree on the installer’s leak checks, diagnostic checks and calibration verification. Keep a written record of the installed components and final map.
Do you have to buy everything at once?
You can stage the spending, but plan the destination first. Ask what calibration each intermediate configuration needs and whether changing parts later will mean paying for the same work again. A sensible partial upgrade is one with a confirmed plan—not one running on the assumption that the next purchase will fix it.
Budget for the completed setup
Instead of using one universal Stage 1 price, request an itemized quote for your application. Compare quotes using the same scope. A lower parts total may leave out calibration, installation or the hardware needed to finish the job.
Ask who handles support if the result doesn’t match the plan. Keep the part numbers, installation instructions, receipts and calibration details together. That record is more useful for future decisions than a folder full of product screenshots.
Street use: check the actual combination
Check the road-use status of the intake, exhaust and calibration for the vehicle and location where they will be used. EPA identifies both exhaust hardware and engine calibrations as potential emissions-control components and prohibits tampering with those controls. Do not treat a “Stage 1” label as a compliance approval. [10]
Ask the supplier about applicable emissions approvals, sound requirements and any restrictions for your exact setup. Discuss warranty implications with the dealer or provider before purchase instead of relying on a blanket internet promise.
Stage 1 questions that come up in every garage
Do slip-ons always need a tune?
No universal answer covers every motorcycle. A muffler-only change and a full exhaust are different configurations. Use the exhaust manufacturer’s guidance for your exact application, including the location of the catalyst. Adding a different intake is another change to evaluate. [2]
Can I fit the intake now and tune it later?
Check the intake instructions before installation. If the kit requires recalibration, plan that work with the installation rather than assuming a delay is acceptable. The Harley-Davidson Stage I Sportster kit is one documented example of a kit requiring calibration. [3]
Does every Stage 1 motorcycle need a custom dyno tune?
A properly supported supplied calibration may be an option. Ask the provider whether it covers your precise configuration and what verification is appropriate. Custom tuning should have a defined purpose and scope; it isn’t something to buy merely because somebody calls every supplied map inadequate.
What if it pops on deceleration?
Popping on decel? Do not just richen it and hope. Note when it pops: cold, hot, off-throttle, or after a pipe change. Take that note to your tuner. A sound is a clue, not a tune.
Which upgrade should I buy first?
The first decision should be the complete, supported combination. Once that is agreed, choose a purchase and installation sequence that fits your budget and keeps every intermediate setup properly configured.
Before the next parts order
A good first upgrade should leave you with a motorcycle you understand better—not a list of problems you hope another part will solve. Pick the sound you can live with, an intake you can maintain and calibration support you can actually reach.
We Wrench. You Clench.
The tools list, in one place
The maintainer, torque wrench, inspection light and service supplies are on the shared garage tools list. Buy for the work you found, not every item on a winter list.
Technical references
Manufacturer documentation and EPA guidance reviewed October 23, 2026. Instructions and compatibility can change; check the current documentation for the exact product and motorcycle.
- Harley-Davidson — Screamin’ Eagle Path to Performance ↗
- Vance & Hines — exhaust, fitment and baffle FAQ ↗
- Harley-Davidson — Stage I Sportster Air Cleaner Kit, calibration requirements ↗
- K&N — filter-type-specific cleaning instructions ↗
- Dynojet — AutoTune, closed-loop operation and sensor limitations ↗
- Dynojet — Power Vision 4 AutoTune guide ↗
- Dynojet — configuring Power Commander AutoTune ↗
- Vance & Hines — FP4 supported configurations and restrictions ↗
- Dynojet — motorcycle jet kits and stage definitions ↗
- US EPA — emissions controls and aftermarket defeat devices ↗
- S&S Cycle — Step 1 intake and exhaust overview ↗
- Dynojet — what a fuel tuner does ↗